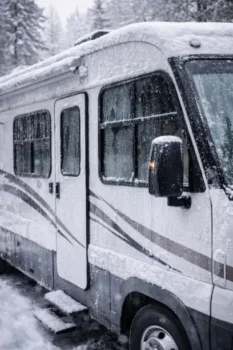
Winter can be hard on your camper. When temperatures drop, moisture can build up inside your rig. This can lead to wet walls, mold growth, bad smells, and even costly repairs. If you store your camper during the winter, you need a plan to control moisture.
In this guide, you will learn why wall condensation happens, why it is dangerous, and how to prevent it. You will also see how moisture affects your camper bed area and interior comfort. Everything is written in simple steps so you can protect your investment.
Why Condensation Forms Inside RV Walls
Condensation happens when warm air touches a cold surface. During winter, the walls of your camper get very cold. If there is moisture in the air inside, it turns into water droplets when it hits those cold walls.
Here are the main reasons this happens:
1. Temperature Differences
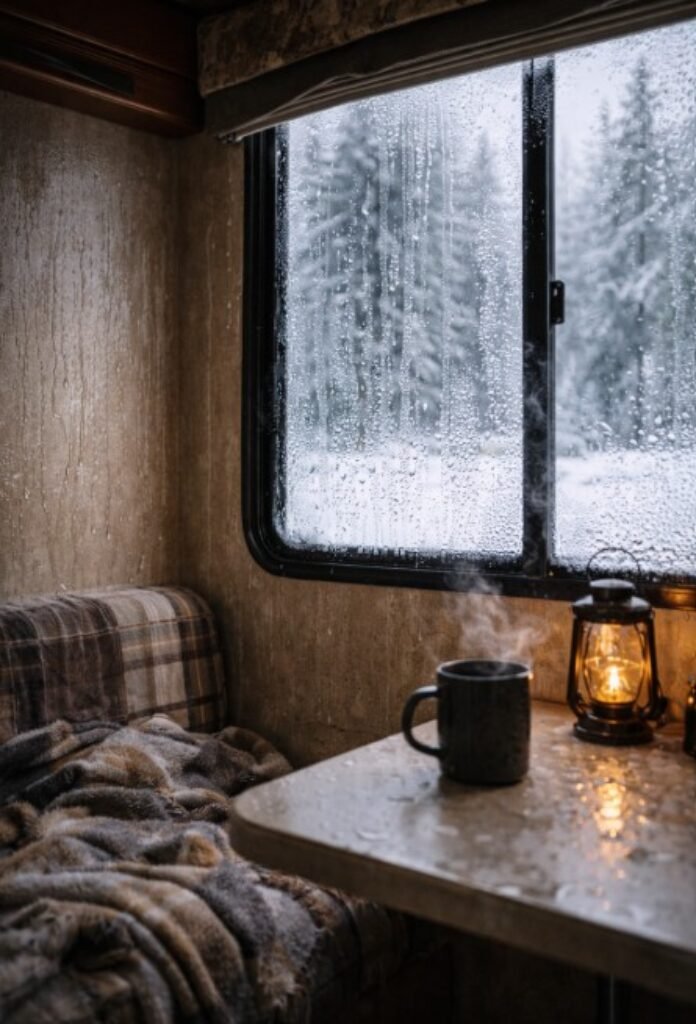
Even in storage, your camper may warm up during the day and cool down at night. These quick changes create moisture. The inside air holds water vapor. When that air touches cold walls, windows, or corners, water forms.
2. Trapped Moisture
Moisture can stay inside your camper long after a trip. It may come from:
- Cooking
- Showering
- Wet shoes or clothing
- Damp bedding
- Humid weather
If you close up your camper without fully drying it out, that moisture stays trapped inside.
3. Poor Airflow
When a camper is sealed tight for winter storage, air cannot move. Without airflow, moisture builds up faster. Small enclosed spaces like closets, cabinets, and behind the camper bed are especially at risk.
Why Wall Condensation Is a Serious Problem
Some people think a little moisture is no big deal. But over time, it can cause major damage.
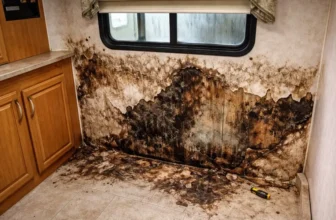
Mold and Mildew
Mold loves dark, damp places. Inside walls, behind furniture, and under sleeping areas are perfect spots. Mold can spread quickly and is hard to remove.
Wall Damage
Many camper walls are made with thin layers glued together. Too much moisture can cause these layers to separate. This is called delamination. Repairs can be very expensive.
Wood Rot
Moisture can soak into wooden frames. Once wood starts to rot, it loses strength. This can weaken the structure of your camper.
Musty Odors
Even small moisture problems can cause bad smells. These odors often settle into cushions and bedding.
Step 1: Prepare Your Camper Before Storage
Prevention starts before you park your rig for the season.
Clean and Dry Everything
- Wipe down walls and windows.
- Dry the shower area completely.
- Remove all food.
- Wash and fully dry sheets and blankets.
- Let everything air out for a full day if possible.
Do not store your camper while anything is damp.
Empty the Water System
- Drain fresh water tanks.
- Empty gray and black tanks.
- Open low-point drains.
- Winterize plumbing lines.
Even small leaks can create hidden moisture inside walls.
Fix Exterior Gaps
Check:
- Roof seams
- Window seals
- Door frames
- Storage compartment seals
Reseal cracks or damaged caulking. Water intrusion from outside is just as dangerous as inside moisture.
Step 2: Control Moisture During Winter Storage
Once your camper is clean and sealed, you need to keep moisture levels low.
Use Moisture Absorbers
Moisture absorbers are simple and affordable. Products like desiccant containers pull water from the air.
Place them:
- Near exterior walls
- Inside closets
- Under the camper bed platform
- In storage compartments
Check them monthly and replace as needed.
Use a Small Dehumidifier (If Power Is Available)
If your storage location has electricity, a small dehumidifier works even better.
Keep indoor humidity between 30% and 50%. This level helps prevent mold growth while protecting your interior materials.
A small unit is usually enough for most campers.
Improve Air Circulation
Air movement is key to stopping condensation.
- Leave cabinet doors slightly open.
- Lift cushions so air can flow underneath.
- Prop up the bed platform if possible.
- Open interior doors.
This helps prevent hidden moisture pockets.
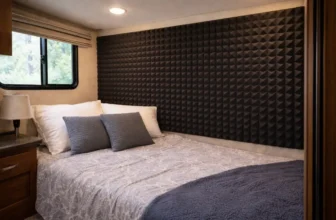
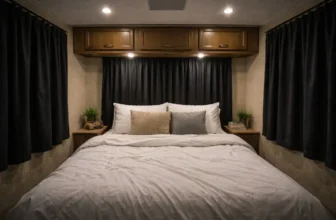
Protecting Sleeping Areas From Moisture
Your camper bed area is one of the most common places for condensation. The reason is simple: beds often sit against exterior walls.
When cold walls meet trapped air behind bedding, moisture forms.
Here is how to protect that space:
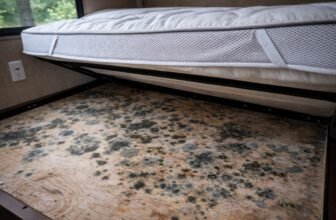
Lift and Ventilate
If your bed sits on a solid platform, moisture can collect underneath. Consider:
- Using a bed ventilation mat
- Adding slats to allow airflow
- Slightly lifting the platform during storage
These steps help prevent damp bedding and mold growth.
Avoid Plastic Barriers
Plastic traps moisture. Do not place plastic sheets directly under your sleeping surface. Instead, use breathable materials.
Store Bedding Separately
If possible, remove bedding for winter. Store it indoors where it stays dry. This reduces trapped moisture inside your camper.
Good airflow around your sleeping space also improves long-term comfort and protects interior walls.
Insulate Vulnerable Areas
Cold surfaces attract condensation. Adding insulation reduces the temperature difference.
Window Insulation
Use Reflectix or insulated window covers. This keeps cold air from touching interior surfaces.
Vent Covers
Roof vents can let in cold air. Install insulated vent pillows or covers.
Thermal Curtains
Thick curtains add an extra barrier against cold exterior walls.
Insulation helps reduce condensation and protects areas near your sleeping setup.
Should You Use an RV Cover
An RV cover can help, but only if it is breathable.
Breathable Covers
These allow moisture to escape while protecting against snow and rain.
Non-Breathable Covers
Plastic tarps trap moisture inside. This can make condensation worse.
If you use a cover, make sure air can still circulate. Never seal your camper completely airtight.
Monitor Humidity Levels
A small hygrometer is inexpensive and easy to use. It tells you the humidity level inside your camper.
Check it:
- Before storage
- During winter if possible
- When reopening in spring
If humidity rises above 50%, add more moisture control.
Regular checks help protect your interior walls and sleeping areas from hidden damage.
Storage Location Matters
Where you store your camper makes a difference.
Outdoor Storage
Most at risk for temperature swings. Extra moisture control is important.
Covered Storage
Offers some protection from rain and snow. Still requires airflow.
Indoor Storage
Best option. Temperature stays more stable, reducing condensation risk.
No matter where you store it, moisture prevention is still necessary.
What If You Find Condensation Damage
If you discover moisture in spring, act fast.
Dry the Area
- Open all windows and vents.
- Use fans.
- Run a dehumidifier.
Clean Mold Safely
Use protective gloves and a mask. Clean small mold spots with a proper cleaner. For large areas, contact a professional.
Inspect Wall Strength
Press gently on affected areas. Soft spots may signal deeper damage.
Catching problems early can save thousands in repairs.
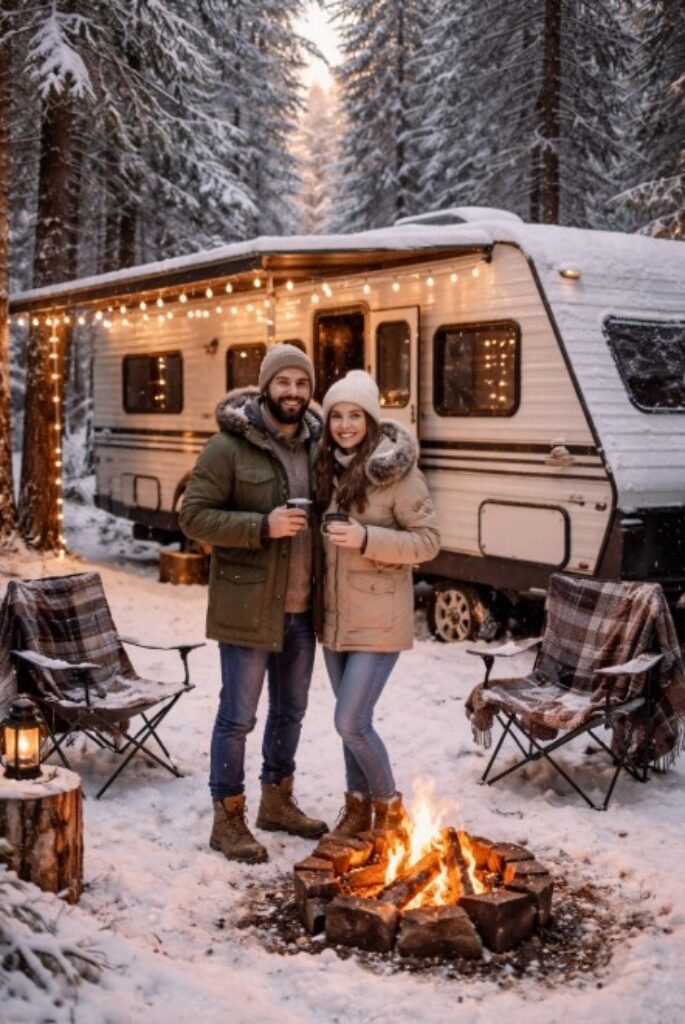
Extra Tips for Long-Term Comfort
Moisture control does more than protect walls. It also helps maintain a healthy interior environment.
When moisture is under control:
- Bedding stays dry.
- Cushions last longer.
- Air smells fresh.
- Interior materials stay strong.
Proper ventilation under your sleeping surface also helps extend the life of your camper bed setup and keeps future trips more comfortable.
Final Thoughts
Winter storage can quietly damage your camper if you ignore moisture control. Condensation forms when warm air meets cold walls. Without airflow and humidity control, this can lead to mold, rot, and wall damage.
The good news is that prevention is simple:
- Clean and dry everything before storage.
- Remove water from tanks and lines.
- Use moisture absorbers or a dehumidifier.
- Improve air circulation.
- Protect and ventilate sleeping areas.
- Monitor humidity levels.
By taking these steps, you protect your walls, interior comfort, and overall investment. A little preparation now means fewer repairs later — and a fresh, dry camper ready for your next adventure.